You might have just started working with react, a Javascript library for building user interfaces, and you have reached the stage of deployment. There are various platforms to deploy your react app, there is platform such as AWS, EC2, Heroku, Netlify, etc. If your tool of choice is Heroku, then this article is for you.
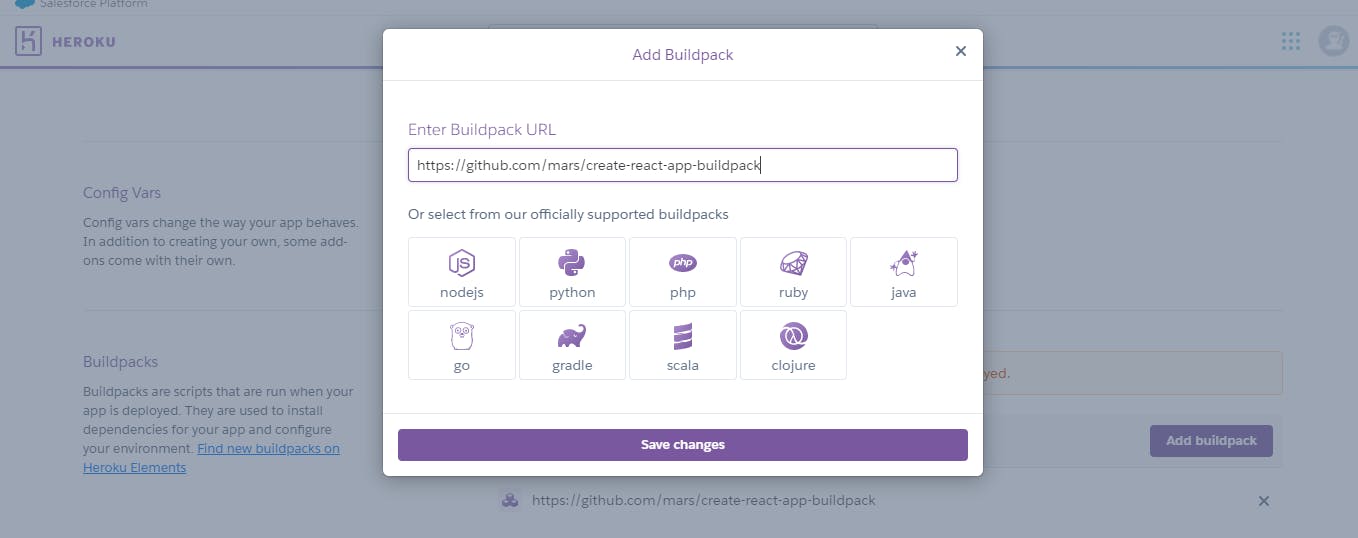
Note: Heroku provides buildpack for Node JS and Python apps and not create-react-app. We will be adding a community buildpack (github.com/mars/create-react-app-buildpack) while deploying to Heroku so as to make the build process automated.
STEP 1: Create a GitHub repository
If you don't have a GitHub account, Open one and go through the docs for better understanding. Done setting up your repo? Push to it.
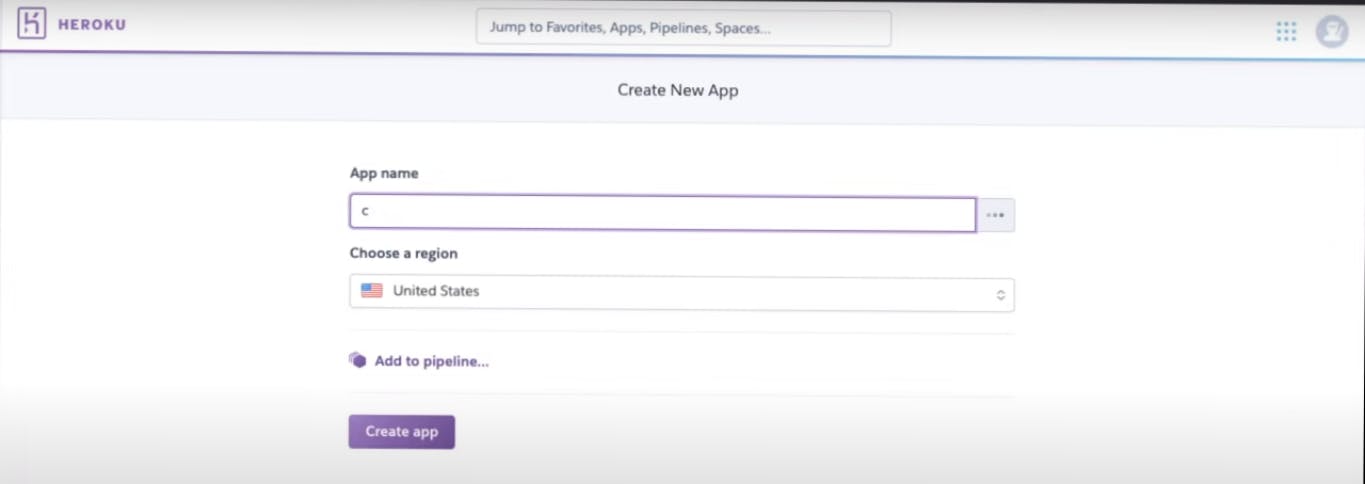
STEP 2: Creating a new App on Heroku
-->Open an account on Heroku
--> Create a new app on Heroku
-->Insert the name you will want to give to your app
-->Choose a region (Anywhere close to you)
STEP 3: Adding a buildpack
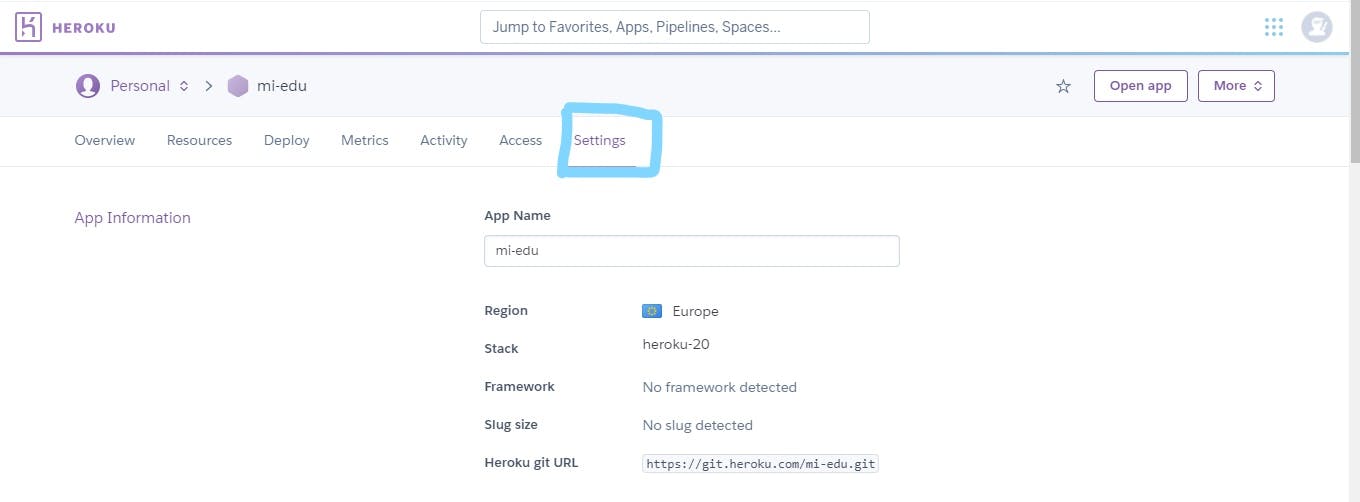
Go to your settings tab and click on "Add Buildpack". Paste this link github.com/mars/create-react-app-buildpack as explained above.
STEP 4: Connecting to GitHub -->Connect to GitHub. Search and choose the repository you created and connect.

P.S: Enable automatic deploys to get automatic updates on your app whenever you push to Heroku
-->Deploy branch
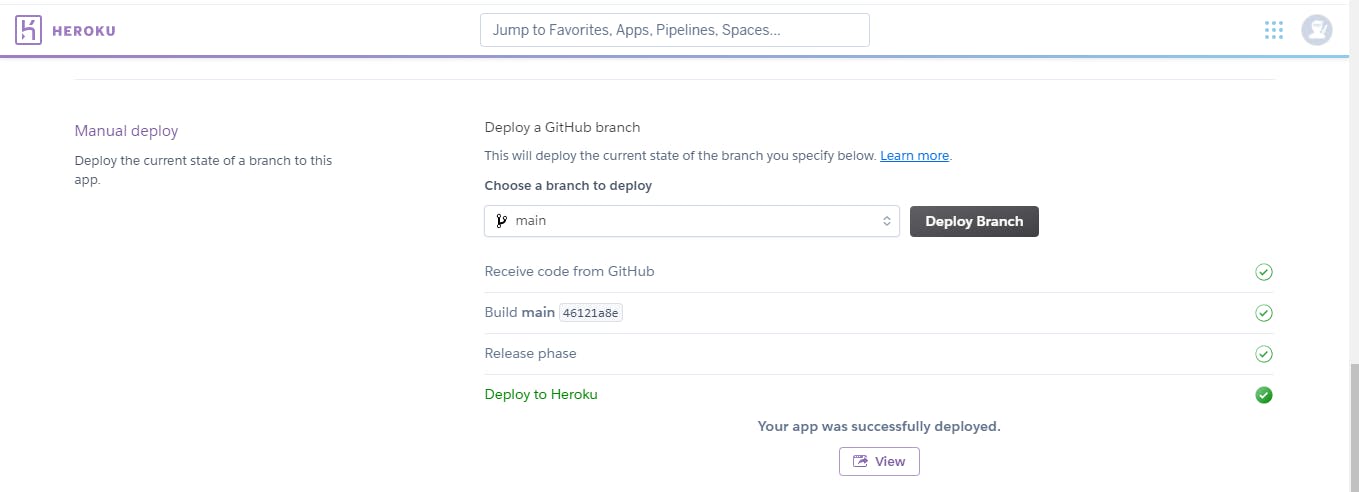
Congratulations... You've successfully deployed your React app to Heroku.